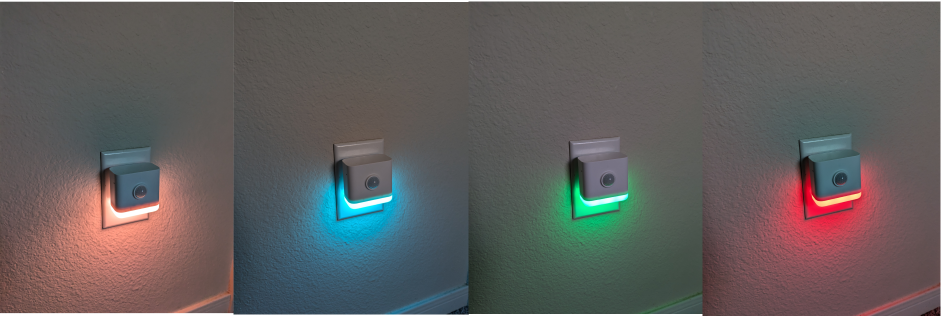
In this guide, I’m going to show you how to add a THIRDREALITY multifunction night light to Home Assistant.
This smart night light allows you to adjust the brightness from 1-100%, change colors, and combines a motion sensor and illumination sensor.
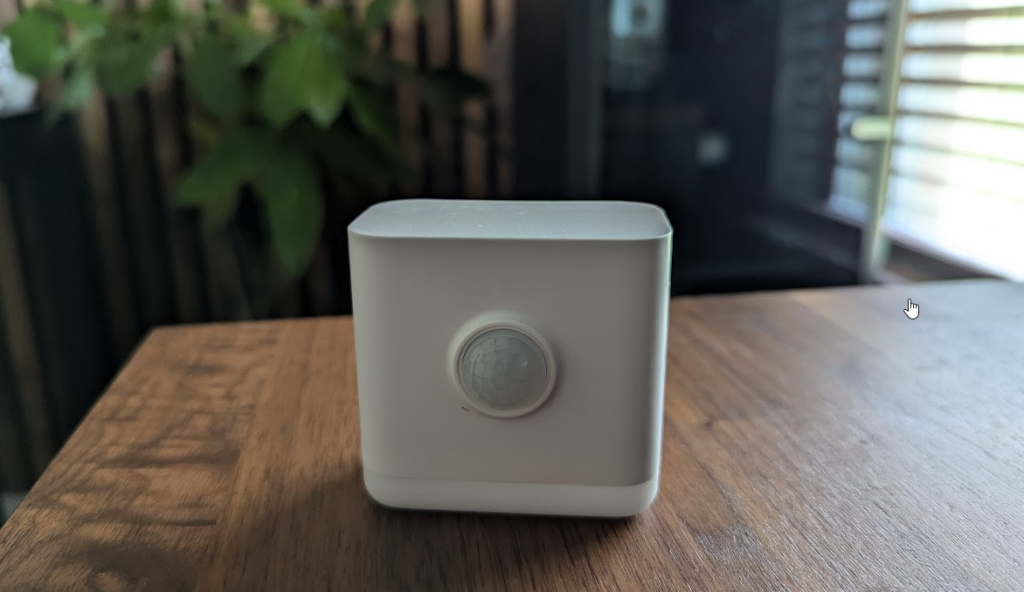
Note: There are TWO models of this smart light:
- a Wifi (over Matter) version
- a Zigbee one. In this guide, I’m going to show you how to setup the Zigbee model using ZHA (Zigbee Home Assistant).
At the end, I’ll show you a couple automations I’ve created, such as changing the color to red when the dryer cycle ends, turn on the nightlight when motion is detected, or toggle the color when kids are approaching the bedroom.
Note: I read some comments in a SmartHomeScene.com guide, where users said the Zigbee version doesn’t default to OFF. This isn’t true. Mine are off 100% of the time until motion is detected from the PIR sensor, and then it turns on for about 30 seconds. Works great!
Let’s get started!
Step 1: Unboxing
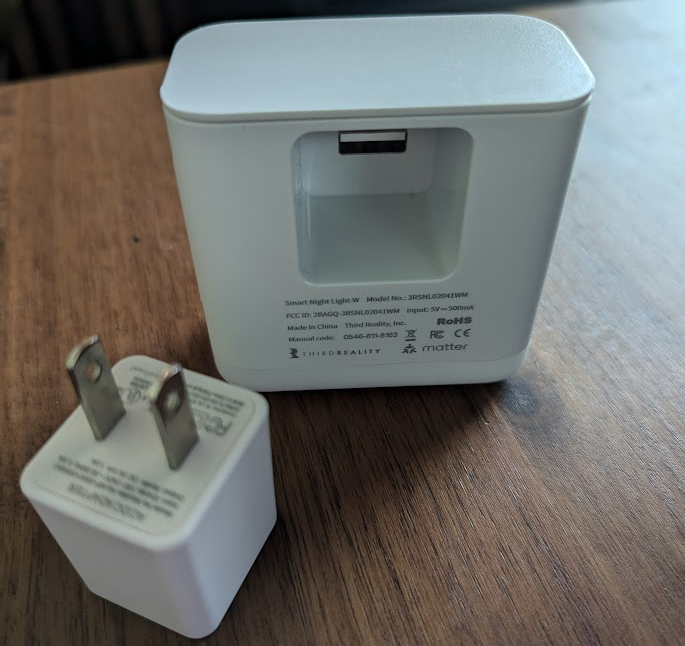
When you open the box, it includes an instruction manual, a USB power adapter, and the night light itself.
Step 2: Plug into wall outlet
Next, simply attach the power adapter to the nightlight. Then plug that into a wall. Within a couple seconds, it’ll flash green, then yellow, then blue, then the light will shut off.
This means the device is in pairing mode and ready to be added to Home Assistant.
Step 3. Add to Home Assistant
Add to Home Assistant just like you’d add any other Zigbee device.
Settings > Integrations & Services > ZHA > Add Device.
It should start searching automatically. Once it does, simply rename the device and it’ll be ready for use.

Step 4: View Available Entities
Now that it’s been added to Home Assistant, here are the available entities it has created.
- Light toggle (on or off)
- Illuminance
- Motion detection
- Color picker
- Start-up color
- …and much more.
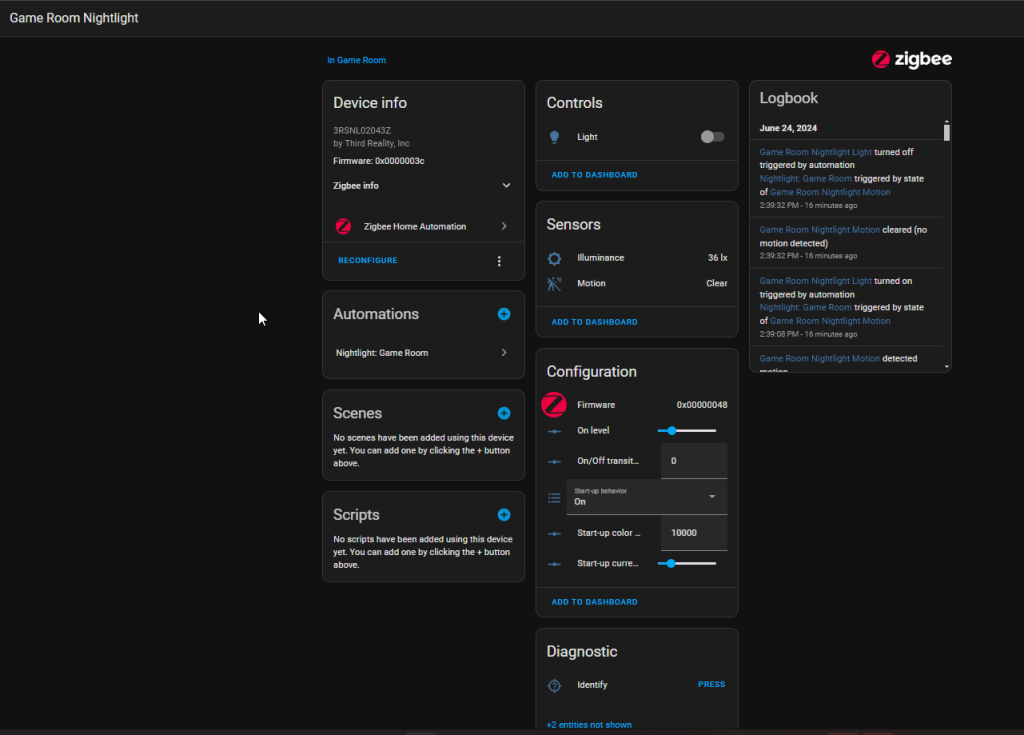
You can click on lightbulb to set the color manually (as well as the start-up color – i.e. – the color the light defaults to turning on to), or, you can specificy a certain color when an Action: is taken. For example, set the color to Red when the dishwasher cycle is complete, or Green when motion is detected.
And in case you want a quick reference to what colors you can set it to, just set the color_name value.

Automation 1: Turn On Nightlight and Set to Green When Motion is Detected
I like using trigger ID’s for my automations, so I can compile multiple automations into a single one.
For example, if Motion detected (motion detected), then turn on the light and set to darkgreen. Once motion is not detected (no motion), then turn off the light.
alias: "Nightlight: Game Room"
description: ""
trigger:
  - type: motion
    platform: device
    device_id: cdf6d544ed9deeae4b51cc26579b2f9d
    entity_id: a92e67fde0b7aa40f18186a7f959bb1c
    domain: binary_sensor
    id: Motion detected
  - type: no_motion
    platform: device
    device_id: cdf6d544ed9deeae4b51cc26579b2f9d
    entity_id: a92e67fde0b7aa40f18186a7f959bb1c
    domain: binary_sensor
    id: no motion
condition: []
action:
  - choose:
      - conditions:
          - condition: trigger
            id:
              - Motion detected
        sequence:
          - service: light.turn_on
            metadata: {}
            data:
              color_name: darkgreen
            target:
              entity_id: light.game_room_nightlight_light
      - conditions:
          - condition: trigger
            id:
              - no motion
        sequence:
          - service: light.turn_off
            target:
              entity_id: light.game_room_nightlight_light
            data: {}
mode: single

Wrapping Up
Overall, I’ve been pretty happy with these ThirdReality Zigbee Motion Nightlights. They integrate super easily into Home Assistant, and are pretty easy to configure automations with.
The only downside is that the PIR sensor tends to take 1-3 seconds before the light turns on. Sometimes I’ll walk past it and it won’t trigger right away. This may or may not be a big deal for you, though, depending on if you already have presence/motion sensors in that room. I personally prefer using an Aeotect SmartThings Motion Sensor to trigger on/off, as that sensor seems to be much quicker.
