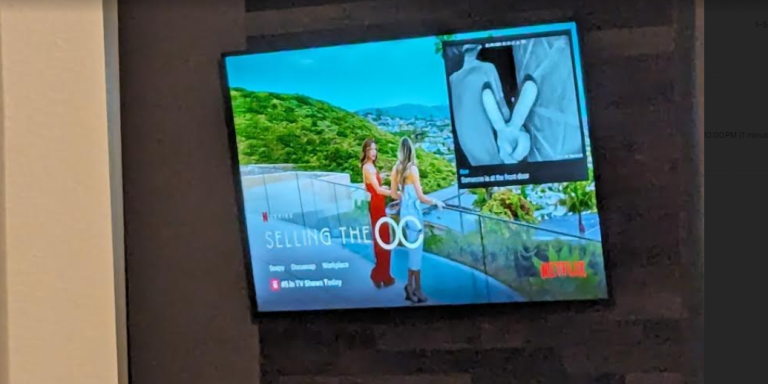
In this guide, I’m going to show you how to create a Google Gemini API key for use with the home automation platform for Home Assistant. Setting this up is completely free and works really well. The end goal is to utilize Gemini’s AI to describe in short detail about the person detection alerts I already receive from Home Assistant via my 2 cameras – the Reolink Wifi Doorbell and Reolink E1 wifi outdoor camera.
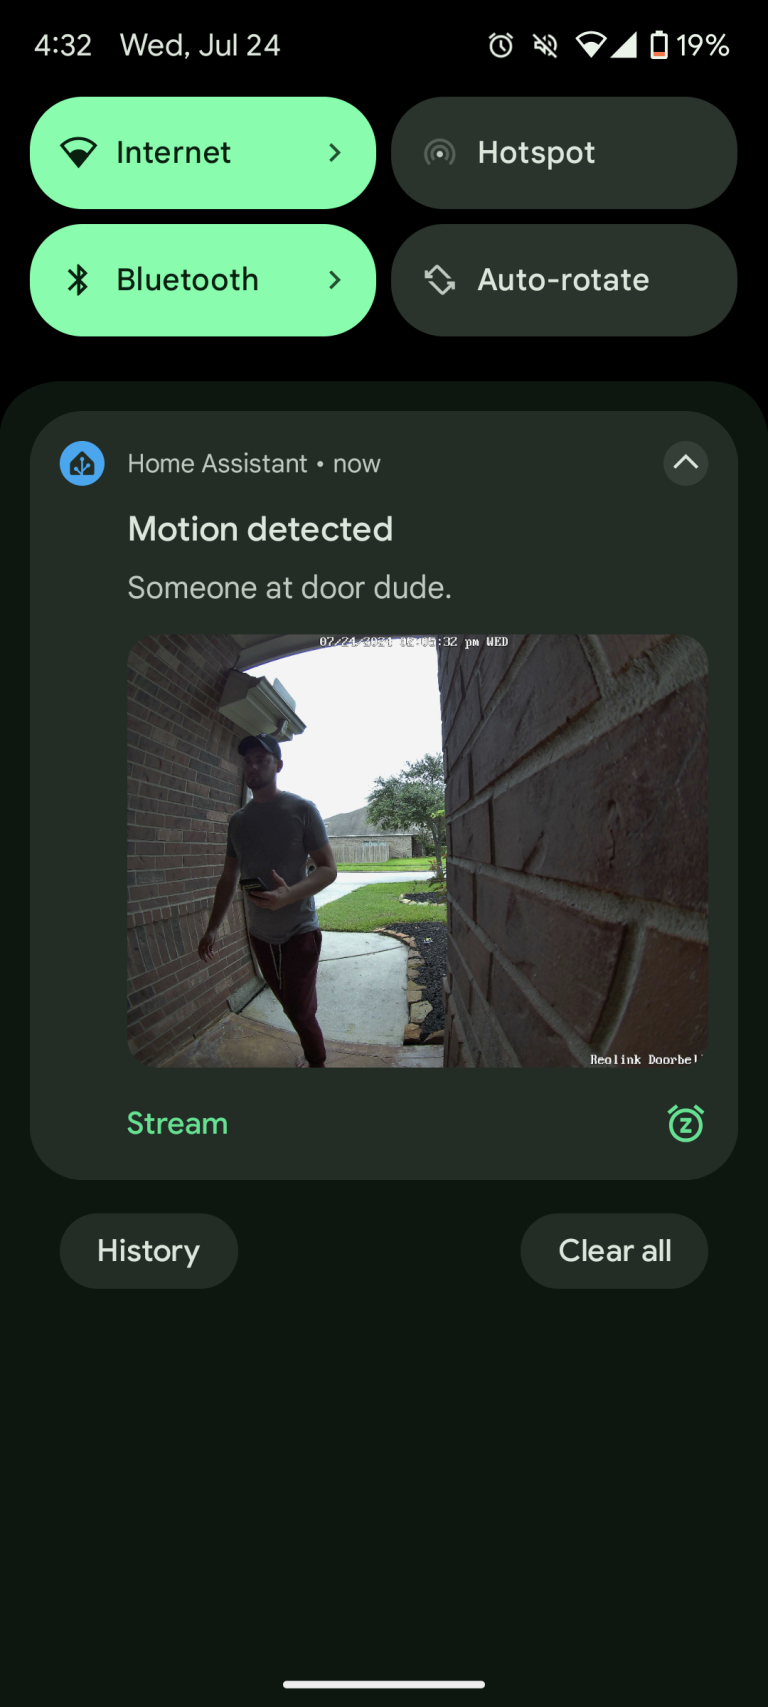
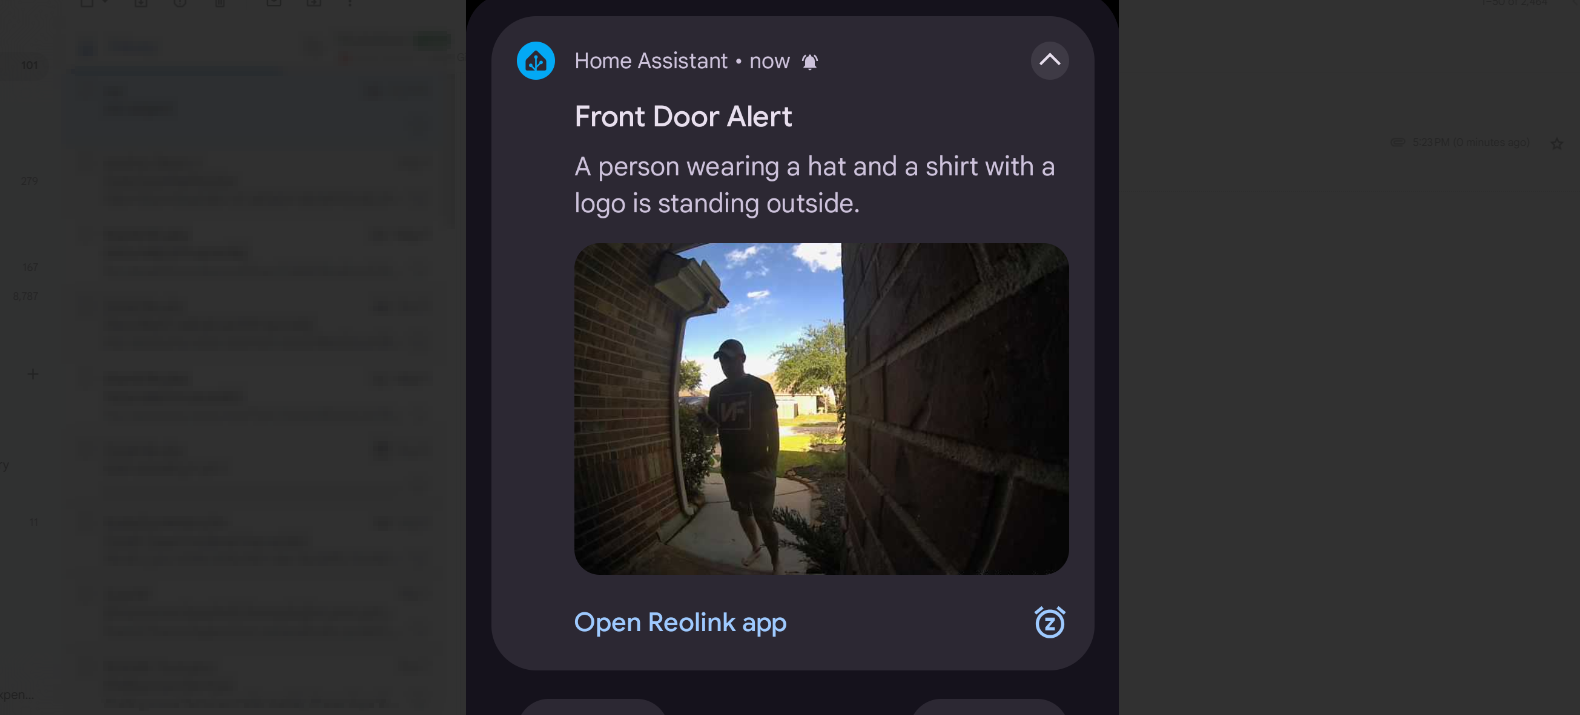
This will allow for some pretty cool automations. Such as “An Amazon driver in a blue shirt arrived at your house”. In comparison, my normal notifications just say “Person motion was detected at your front door!”. This should hopefully help you differentiate the different types of motion events you receive.
Note: Even if you don’t use Home Assistant yet, you can still follow this guide to create and setup a Google Gemini API key for use with any other AI platform, script, or automation you plan on using it for. You would just follow steps 1-XXX instead of this entire guide.
Let’s get started!
Step 1: Get A Google Gemini Key from Google AI Studio
First, make sure you are logged into our Google/Gmail account.
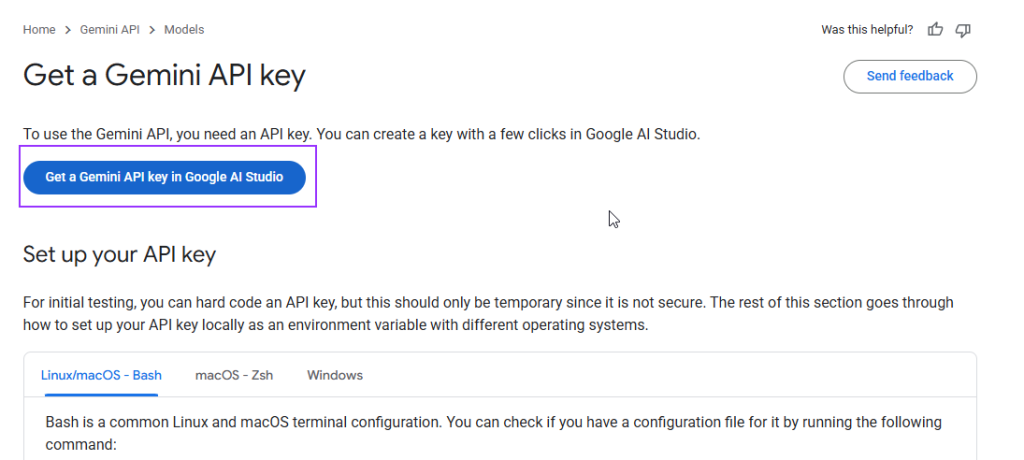
Next, the simplest way to go this if by downloading Google AI Studio from here.
Click “Get a Gemini API Key in Google AI Studio”.
Click the “Generate API key” option.
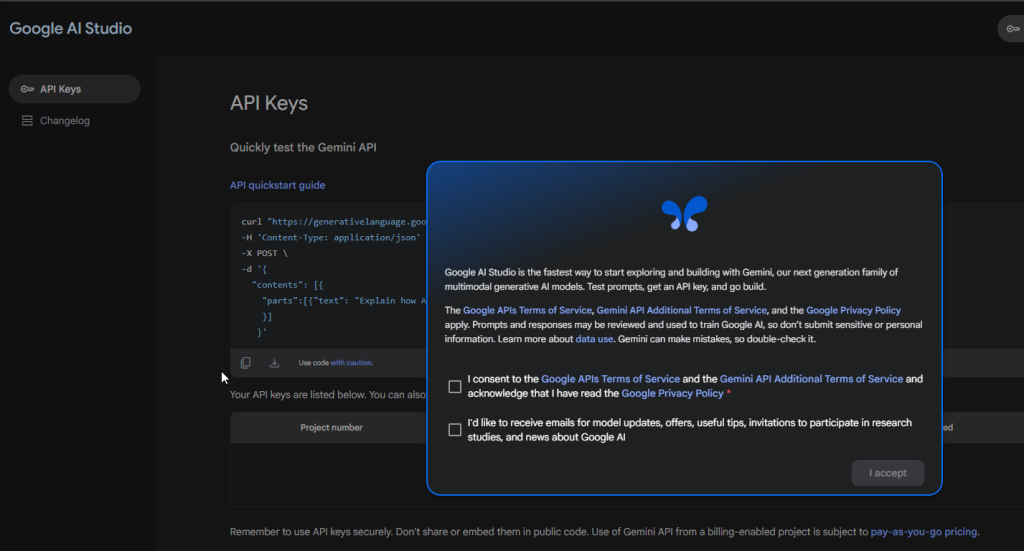
It may prompt for ToS if you haven’t already do so in the past, so check the first box and click I Accept.
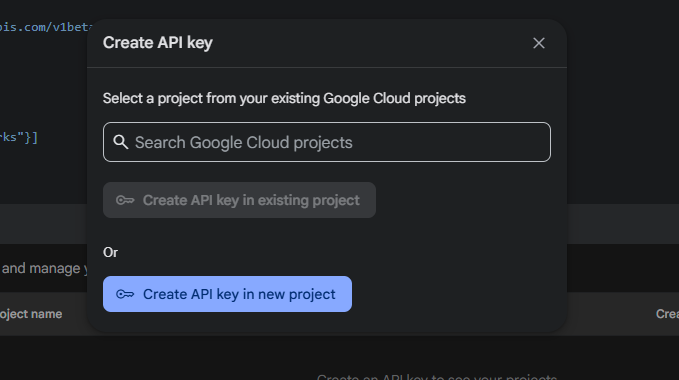
Click Create API Key.

Create API key in new project.
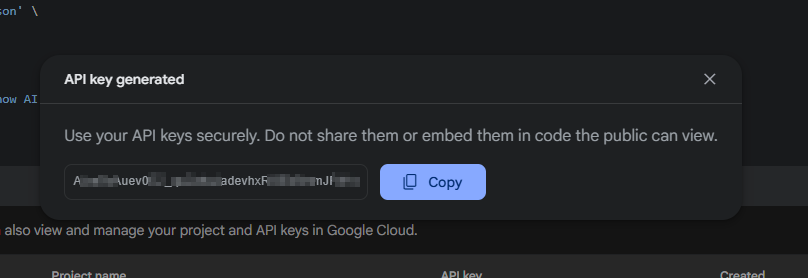
Copy your new API key and save it somewhere secure like your password manager (I use Bitwarden and save this as a Secure Note).
Step 1: Download LLMVision for Home Assistant
Assuming you have HACS installed.
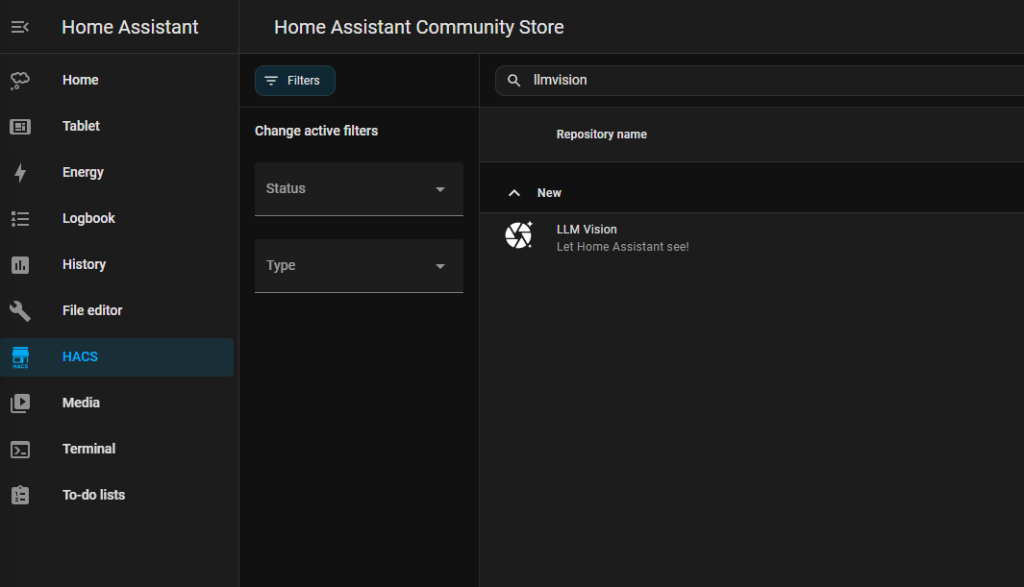
Launch HACS from your sidebar and search for LLMVison, and then download.
Then, restart Home Assistant.
Step 3: All LLM Vision Integration
After the reboot completes, follow the steps below.
Settings > Devices & Services > Add Integration > search for “LLM Vision”.
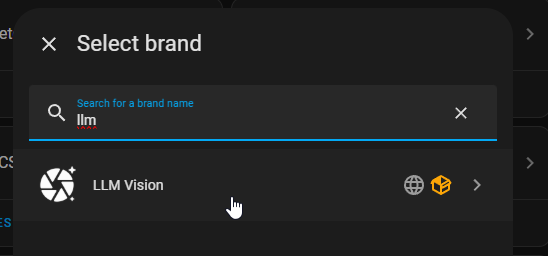
For the provider, choose Google. Note that if you AREN’T using Gemini, you can choose whatever other AI LLM you are using (OpenAI, Ollama, Anthropic, etc)
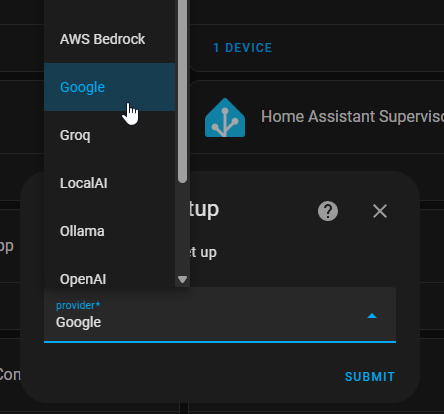
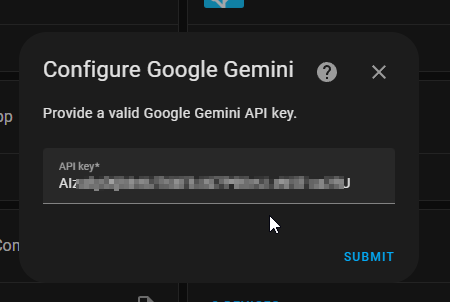
Click Submit, and then paste your API key.
Step 4: Test LLM Integration
Next, we want to quickly check that Google Gemini works with the latest photo that was taken by our Reolink doorbell.
- Developer Tools > LLM Vision: Image Analyzer
- Choose your configured provider (Google)
- For the “Prompt”, type “Describe person and what they are doing in 75 characters or less.”
- For the path, I already had an existing location where snapshots were stored, so I’m reusing that. I found this by opening one of my old automations (/config/www/doorbell/snapshot-doorbell.jpg)
- For steps on how I did this, you can check out my basic How To Get Reolink Doorbell Notifications in Home Assistant guide.
Then, click Perform Action.
In the Response Text, you’ll see something similar to this:
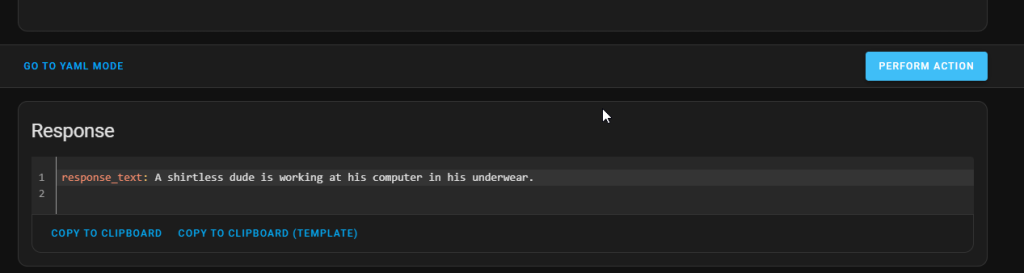
If you see AI-text of what was found in your image, you can continue on.
Step 5: Create or Update Existing Doorbell/Camera notification
This part is easy. All you need to do is basically repeat Step 4, but in the “Then Do” section. Make sure the LLM vision action is BEFORE your notification or it won’t work.
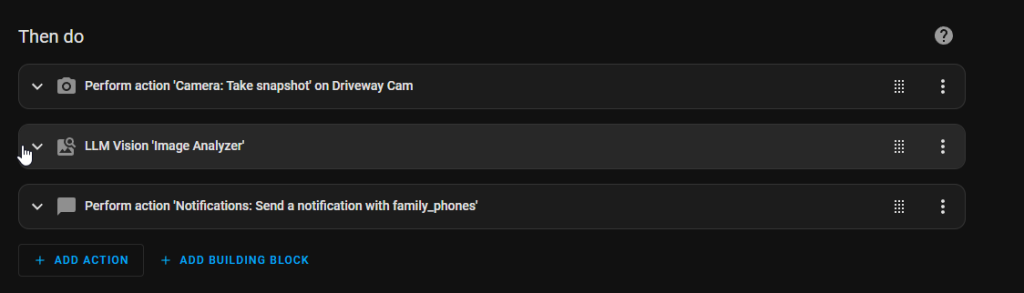
The only thing you’ll want to check is to set a Response variable. I just used the word “response”.
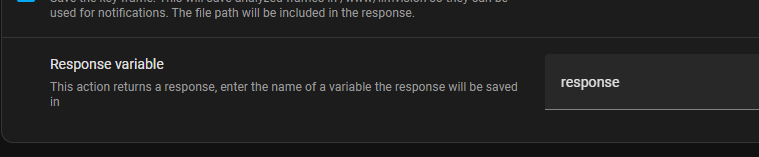
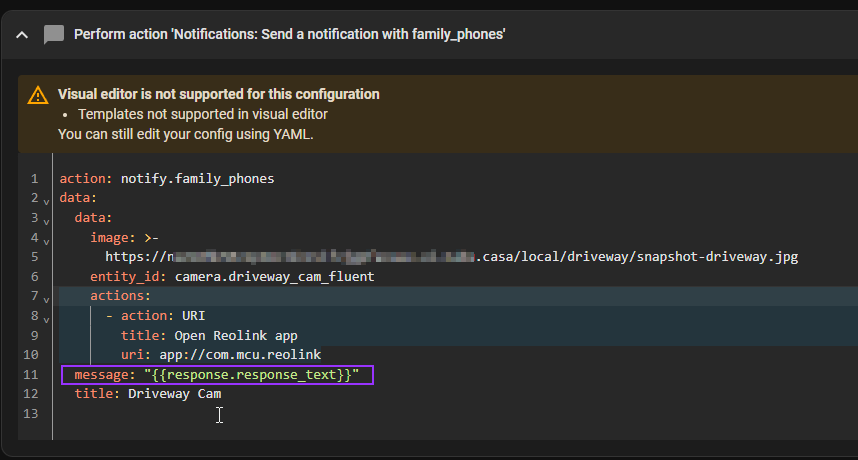
In the Send Notification block, use message: “{{response.response_text}}”